Interior Paint Selection 101
Did you know that Purple Cherry Architects has a full-service Interior Design team? Our Interior Design services can be utilized independently or in conjunction with our architectural design services. Today, we tapped into the expertise of the design team to compile our top seven tips for selecting paint color and sheen for every room in your home.
1. Exercise your patience.
Believe it or not, paint is one of the last decisions we make – and it is usually one of our clients’ first questions at the start of the design process! Just like how you can box yourself into a corner, you can box yourself into a design by choosing a paint color too early in the process. By choosing an exact paint color and designing around this color, you limit the design possibilities. We strive to have a general sense of a client’s desired color palette for direction but we do not select exact paint colors until after most of the other interior selections have been made. We then have our pick of thousands of beautiful colors to compliment a design.
2. Do your research – it’s worth it.
To repeat ourselves – do your research, it’s worth it! Do you lean towards warmer or cooler tones? Maybe you love the simplicity of a white wall or you are all about the drama with a bold pop. Pinterest, Houzz, and design publications are helpful tools in discovering what you are naturally drawn to. The next question is – do you see yourself living in a space like the image? You may be drawn to be certain photos but after further thought may have an emotional reaction to the “feel” of the space. Color and tonal quality can affect our mood. Many people love the look of gray tones, which have become quite popular in the last few years, but when they envision living in a gray space, they may feel differently. You may realize you prefer warmer tones over cooler tones even if in the gray family!
3. Understand transitions.
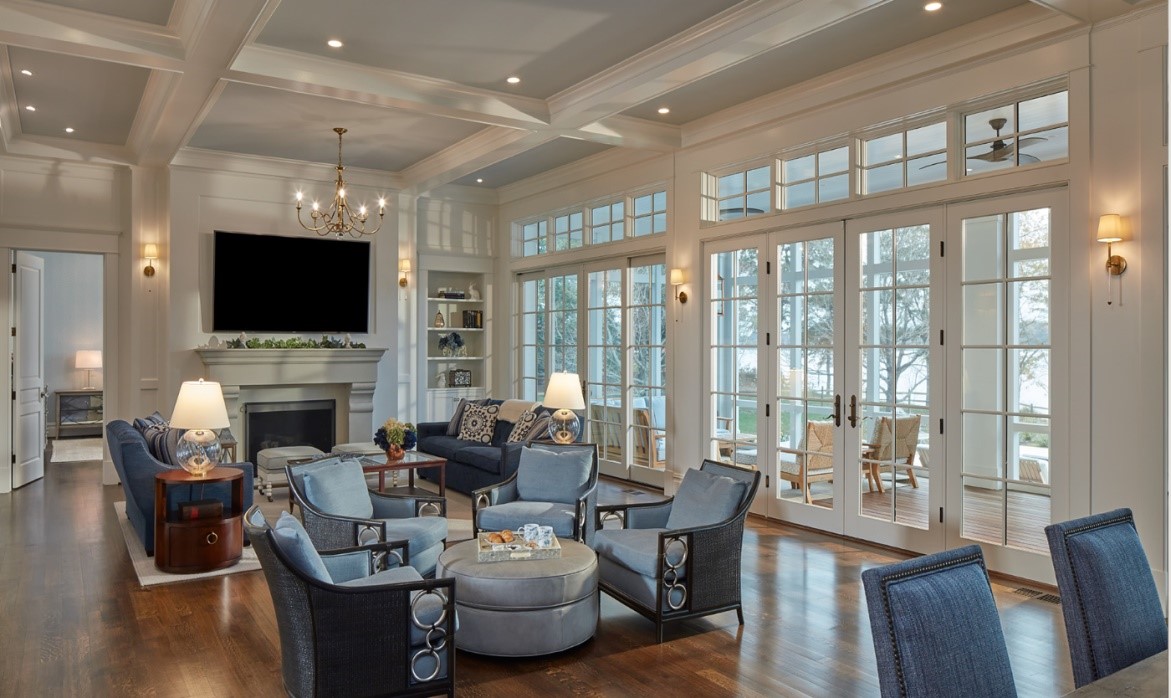
Understanding the architectural layout of your home and how paint colors transition is critical. Further, understanding the volume of the space and the orientation to natural light is significant. Our architectural and interior design teams understand the importance of these transition areas and how paint colors will transition to one another and to the light. In the increasingly popular open concept floor plan, these transitions are key and lead to us specifying fewer paint colors to avoid open sight lines with multiple paint colors. Our eye senses interruption when design elements, including paint, do not flow throughout an open space. We aim to have your eye carry seamlessly throughout your home so it picks up on all of the beautiful moments.
4. Don’t forget trim and ceilings.
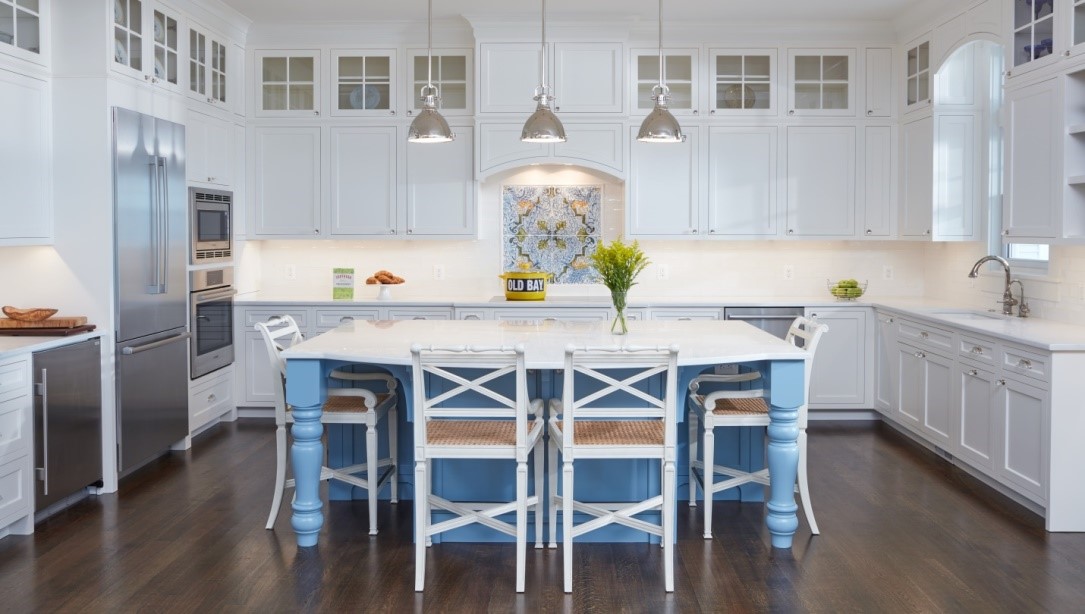
Many times, we recommend painting the trim and ceiling in the same color but in different sheens (stay tuned for sheen advice below). Going back to transition, knowing how the trim tracks from space to space or even within a single space is crucial. It is not uncommon for us to specify the same trim and ceiling color throughout an entire house. This provides a level of continuity as you move throughout your home. This approach is frequently taken in the heart of the home – the kitchen. If you love a timeless white kitchen (which many of our clients do), you will appreciate the continuity of the cabinetry matching the trim color.

5. Utilize the existing color palette.
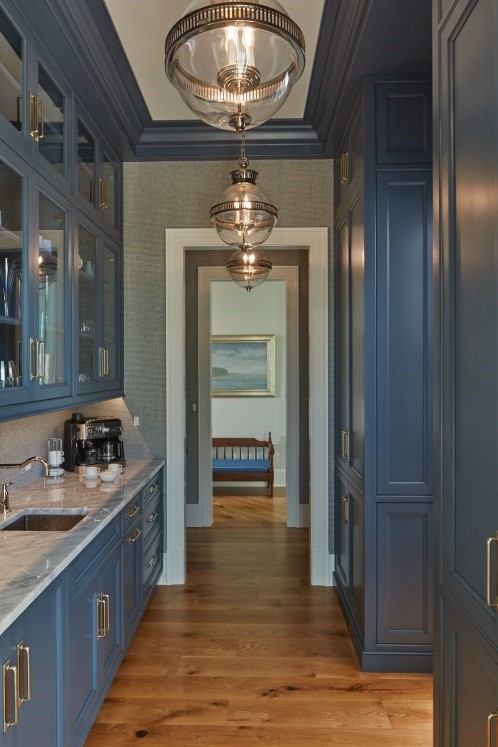
How do you select colors from here? Use the design elements and materials in the space! When we work through the design process, we select materials that tonally come together to create a holistic design. This means that the color palette is already set when it comes to selecting that perfect paint color! Our cabinetry finishes, fabrics, and rugs all influence the direction. Still wanting a bit of color? Pop a pale blue or a fun wallpaper on your ceiling to compliment your palette. One of our “go-to” collections is Benjamin Moore’s OC collection. Check it out!
6. Brush up on sheen.
Paint sheens are fairly straightforward if you keep a few guidelines in mind. There is a general rule of thumb: the higher the sheen, the higher the shine. And in turn, the higher the shine, the more durable and wipeable that surface is. More durable, sounds like a no brainer? A higher gloss sheen will also highlight any potential imperfections in your drywall. Last tip before you dive into sheens: check with your manufacturer for the differences in sheen. There are subtle differences between manufacturers.
PCA Cheat Sheet:
- Flat paint = No Shine
- High Gloss= All Shine
- Eggshell, Satin, & Semi-Gloss = In between Flat & High Gloss
Ceilings and trim are also fairly straightforward. We recommend flat for drywall ceilings and semi-gloss or satin for trim. Semi-gloss has been traditionally painted on trim for many years, but we are seeing a trend towards the lower sheen of satin. This sheen level provides that perfect amount to highlight the beauty of the trim profile but at a lower level of gloss.
Our “wet areas”, the bathrooms and laundry rooms, need durability against potential moisture while also avoiding the look of a high gloss sheen. As a broad stroke recommendation, an eggshell or a satin wall paint sheen will give you that extra bit of protection without the “glare” of a high gloss sheen.
7. Sample, sample, sample (and sample again).
Bigger is better! Larger format samples allow you to see the color – a 5’x5’ area should do the trick! If you are able to sample on multiple walls within a space, do it. Color can change throughout a space and light is key. If you can, live with the color and feel it. Better yet, look at the color when you will be using that particular space the most during the day or evening. And remember, you may need more than one round of samples and that is okay! Color is an important aspect of the design.
We hope you find these tips useful!